REVIEW · VENICE
Photography workshop in the magical Venice (3h)
Book on Viator →Operated by Andrea Zavagnin · Bookable on Viator
Venice rewards the eye. This 3-hour photo workshop turns your stroll into real practice with street and architecture techniques. You’ll be guided on how to look, where to stand, and how to make Venice read clearly in your photos, from quick street moments to classic buildings and angles.
I like the small-group setup (up to 8 people) because it keeps the instruction hands-on, not generic. One thing to plan for: no camera gear is provided, so you need to bring your own equipment (and a tripod can help, since the instructor brings one).
In This Review
- Key highlights worth your camera time
- Venice is perfect for photography training
- Santa Lucia start: a smooth way to orient your camera
- Rialto walking segment: learning street photography the Venetian way
- Piazza San Marco finish: composition for the big, classic view
- How Andrea teaches: questions, adjustments, and practical camera direction
- Camera gear and what to bring (and what not to expect)
- Tripod use: why it’s taught (even if you don’t want to carry one)
- Timing, walking flow, and how to manage a Venice day
- Price and value: what $162.06 buys you here
- Who should book this workshop
- Weather and city rules that can affect your photo plan
- Should you book this Venice photography workshop?
- FAQ
- How long is the photography workshop in Venice?
- Where does the workshop start?
- Where does the workshop end?
- What’s included in the price?
- Do I need to bring my own camera or photography equipment?
- How big is the group?
- Can children join for free?
- Is there a Venice day-tripper access fee?
- What happens if the weather is bad?
Key highlights worth your camera time
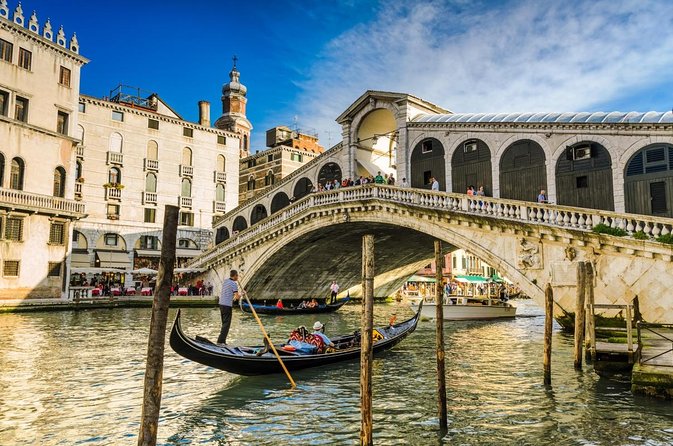
- From Santa Lucia to San Marco: you cover big Venetian photo territory on foot.
- Street + architecture focus: you learn two different ways to frame the city.
- Small group (max 8): you get feedback while you shoot.
- Tripod support: the instructor brings a tripod for teaching.
- Adjusts to your level: instruction is shaped around your experience and gear.
- Good-weather dependent: you’ll want plan B if rain changes the route.
Venice is perfect for photography training
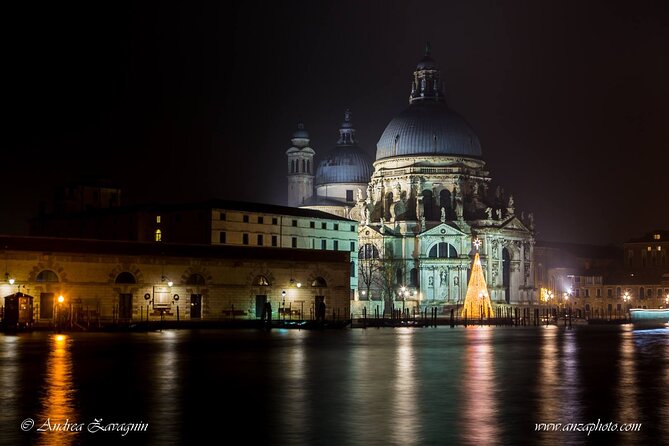
Venice is one of those places where your photos can go from pretty to powerful fast—if you know what to do with light, lines, and distance. That is exactly why this workshop works well. You’re not just being shown views. You’re learning how to use the city as a teaching tool.
The format matters. In about 3 hours, you get time to practice, not just stand around. And because you walk from major landmarks toward the center, you experience the city’s photography textures: tight street angles, architectural rhythm, reflective surfaces, and that constant Venice mix of stone, water, and movement.
Also, the instructor behind the experience is Andrea Zavagnin. The big advantage here is that the guidance is responsive. If you come in with a compact camera, a DSLR, or a phone with manual options, you can still get useful direction on composition and shooting choices.
You can also read our reviews of more photography tours in Venice
Santa Lucia start: a smooth way to orient your camera
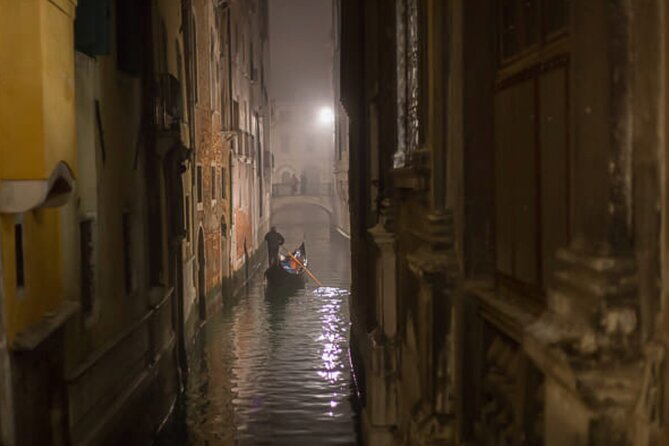
The workshop begins at Stazione di Venezia Santa Lucia (30121 Venice). Starting at a transit hub is practical for a city day, and it gives you an immediate sense of place. You’re in the flow of Venice quickly—less time hunting for the meeting point, more time turning your camera on Venice-world.
From the first moments, the lesson is about seeing. You’ll start building habits like:
- spotting a subject first, then deciding where your feet should be
- watching lines and edges that guide the eye
- thinking about framing before you press the shutter
This kind of training is especially useful in Venice because you can easily end up with photos that look like postcards but don’t explain what you felt on the street. Andrea’s approach is designed to help you make choices on purpose.
One more practical note: Venice is made of small spaces and sudden perspective changes. Starting early in the walk helps you learn how to work with that reality rather than fighting it.
Rialto walking segment: learning street photography the Venetian way
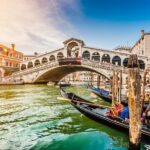
A big chunk of the workshop walk is from the Santa Lucia area up toward Rialto, and this is where street photography skills come alive. Venice streets aren’t like wide boulevards where you can stand far back and shoot casually. You work close. You frame around people, bridges, doorways, and repeating building shapes.
This is where the workshop’s street focus earns its keep. You get taught in motion—how to approach a scene, how to simplify a busy view, and how to avoid the common mistake of shooting everything at once. If you’ve ever looked at a Venice photo and thought, I love the place, but my picture feels messy, you’ll understand why this part matters.
Even the best camera struggles in Venice if you rely only on automatic settings. The instruction aims to help you go beyond that by showing ways to handle camera choices and composition while you walk. In one case, the experience was extended and became more of a one-to-one feel, with extra time spent on techniques like taking your camera off auto and composing deliberately.
Piazza San Marco finish: composition for the big, classic view
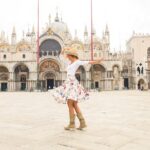
The workshop ends at Piazza San Marco, with the activity returning back to the meeting point area. San Marco is the obvious crowd magnet, but it’s also a tough photography assignment because it’s huge, detailed, and visually loud.
That’s why the finish is valuable. You’re not just getting to San Marco. You’re learning how to photograph it with intention, using techniques you practiced earlier on smaller street scenes.
Think of this as two levels of photo practice happening in one tour:
- earlier you learn to manage tight spaces and everyday angles
- later you apply those same framing instincts to a landmark that has scale and complexity
If your goal is to come home with photos that look like you know how the city works, this approach is a big deal. The workshop helps you avoid the usual outcome where you shoot San Marco from one obvious spot and end up with images that all feel the same.
How Andrea teaches: questions, adjustments, and practical camera direction
One of the most praised parts of this workshop is how Andrea asks questions first. Instead of launching into a fixed script, he figures out your camera comfort level and your experience, then adjusts the instruction accordingly.
That matters because photography isn’t one-size-fits-all. If you know your exposure basics already, you want composition and direction. If you’re new, you need a clear path from button to result. Andrea’s method is designed to meet you where you are.
The teaching style you’ll likely feel on the walk is:
- short explanations tied directly to what you’re seeing
- immediate chances to test ideas on the spot
- tips that are adjusted to your equipment
And yes, you’ll be encouraged to practice rather than simply watching. This is exactly what turns a tourist photo into a personal photo. Venice becomes your classroom.
Also, Andrea mentions and demonstrates tripod use as part of his support. While the workshop data says he brings the tripod, it doesn’t mean you’re forced into tripod-only shooting. The point is to give you a tool and guidance for steadier, more controlled images when it makes sense.
You can also read our reviews of more tours and experiences in Venice


Camera gear and what to bring (and what not to expect)
Here’s the core equipment reality: no photography equipment is provided. Participants must bring their own camera and accessories. That includes whatever you plan to use for stability, zoom, or low-light shooting.
What to bring depends on how you like to shoot, but at minimum, think about these items:
- your camera (or a phone with a camera app you’re comfortable with)
- the way you normally frame (wide/standard/tele if applicable)
- a way to support stability if you have one (a small tripod can be useful)
- whatever you’ll need to review your shots on the go
The workshop says Andrea will bring his tripod. That helps if you want to see how tripod setups work, but it does not replace your own setup. If you’re traveling light and hoping for a rental tripod and a full kit, this isn’t that kind of workshop.
If you’re unsure whether your gear is “good enough,” don’t let that stop you. The experience is set up so the instruction can be tailored to your camera and knowledge level.
Tripod use: why it’s taught (even if you don’t want to carry one)
A tripod sounds like a luxury until you’re standing in Venice with bright reflections and shifting light, trying to keep lines straight and your framing intentional.
The workshop includes the instructor bringing a tripod, which suggests the lessons can cover practical tripod use such as:
- steadier shots for sharper architectural images
- longer shutter options when appropriate
- more controlled framing when the scene is complex
You don’t have to become a tripod photographer overnight. But having the idea explained—then seeing how it can change your photos—can help you decide when a stable setup improves results.
This is one reason the workshop can feel more valuable than a generic walking tour. You’ll leave with a toolkit mindset, not just photos of Venice.
Timing, walking flow, and how to manage a Venice day
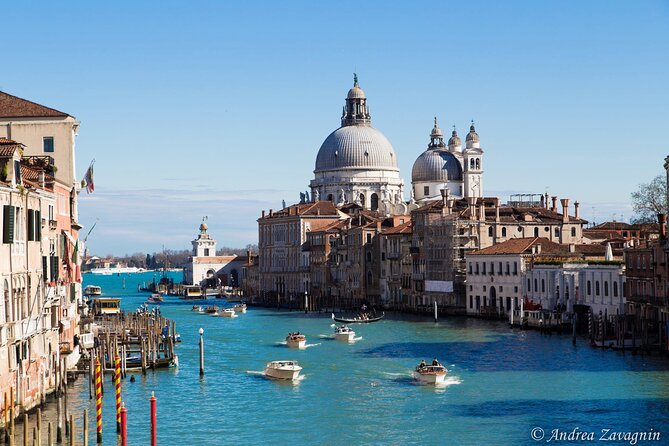
The total duration is about 3 hours, with a walking structure that takes you from the starting area toward Rialto and then up to San Marco. That’s a realistic slice of a Venice day, but it’s still time on your feet.
Keep two practical expectations in mind:
- You’ll be moving, stopping, and shooting in short bursts.
- Your attention will shift between street moments and architectural framing.
Venice rewards people who can adapt quickly. If you can be flexible—especially with angles, distances, and composition—you’ll get more out of the practice time.
Group size helps here. With a maximum of 8 people, the pace can stay teachable rather than chaotic. It also increases the odds that the instructor can give you direct help without you getting lost in the crowd.
Price and value: what $162.06 buys you here
At $162.06 per person for roughly 3 hours, it’s not a bargain workshop, but it’s also not priced like a private photo shoot. The value comes from instruction quality plus practical walking time.
You’re paying for:
- guidance from Andrea Zavagnin
- technique focus on street and architecture photography
- a walk that guides you through photo-heavy parts of Venice
- a small group format (max 8), which increases the chance you’ll actually get feedback
There’s also a signal in the reviews: the instruction can become more personal when the group dynamics allow. One account described it turning into an essentially more one-to-one experience and lasting longer, including time off main routes and deeper explanation about shooting off auto and composing.
So if your goal is to leave Venice with better photos, not just more photos, the pricing makes more sense. If you only want pretty snapshots and don’t care about learning how to improve them, you might prefer something cheaper.
Who should book this workshop
This one is a great match if you:
- want to improve your photos of Venice, not just collect memories
- enjoy walking and want direction while you shoot
- have a camera and want to learn how to stop relying only on auto settings
- like architecture and also want to handle street scenes without your photos getting cluttered
It’s also worth considering if you’re traveling with family. The workshop data says children and teenagers up to 13 can participate for free, as long as you notify the organizer in advance with how many kids and their ages. That can make the experience easier to fit into a family Venice trip.
Who might skip it? If you don’t plan to bring a camera (or you want a no-effort tour with no practice focus), you’ll likely find the learning part less rewarding.
Weather and city rules that can affect your photo plan
The experience requires good weather. If weather forces a cancellation, you’ll be offered a different date or a full refund. Since Venice can change fast, plan your day so you can accept minor schedule shifts.
There’s also a Venice access fee detail worth knowing. On certain days, people visiting from outside Venice for day trips may need to pay a €5 access fee. You can check what applies and possible exemptions at https://cda.ve.it. It’s not an issue for everyone, but it’s smart to verify before you plan your day.
If you’re sensitive to crowds, keep in mind that San Marco is popular. The workshop’s value is that it helps you photograph it with structure instead of just following the crowd.
Should you book this Venice photography workshop?
I think you should book it if photography improvement is part of your Venice plan. The strongest reason is simple: you get guided practice on a walk that hits both street life and architecture, with instruction that adapts to your level and equipment. Add the small group size and the fact that Andrea brings a tripod for teaching, and it becomes a focused way to turn Venice into a real skill-builder.
I’d skip it if you expect equipment provided, or if you want a casual sightseeing walk with zero camera learning. This is for people who want to shoot with intention and come away with techniques they can use back home.
If you fall somewhere in the middle—curious but not sure—you’re probably a perfect fit. The whole structure is built to help you start making better decisions in the moment.
FAQ
How long is the photography workshop in Venice?
It runs for about 3 hours.
Where does the workshop start?
It starts at Stazione di Venezia Santa Lucia (30121 Venice).
Where does the workshop end?
The activity ends back at the meeting point (after finishing at Piazza San Marco).
What’s included in the price?
The experience includes the instructor bringing a tripod.
Do I need to bring my own camera or photography equipment?
Yes. No photography equipment is provided, so you must bring your own gear.
How big is the group?
The workshop has a maximum of 8 travelers.
Can children join for free?
Children and teenagers up to 13 years old can participate for free, but you must message the organizer in advance with the number of children and their ages.
Is there a Venice day-tripper access fee?
On certain dates, people visiting Venice for the day from outside the city may need to pay a €5 access fee. Check details (including exemptions) at https://cda.ve.it.
What happens if the weather is bad?
The experience requires good weather. If it’s canceled due to poor weather, you’ll be offered a different date or a full refund.